
After this secret, you will not pay more for a new lamp.
Procedure
Step 1:
The first thing you should do is identify the problem. Plug the lamp into a power source and check for any signs of life, such as flickering or dim light. Look at the LEDs and look for black spots in the center, which indicates that they are burned out.
Step 2:
Unplug the lamp and open the case with the flat screwdriver. Be careful not to damage any components. Once opened, visually inspect the LEDs and circuitry for visible damage.
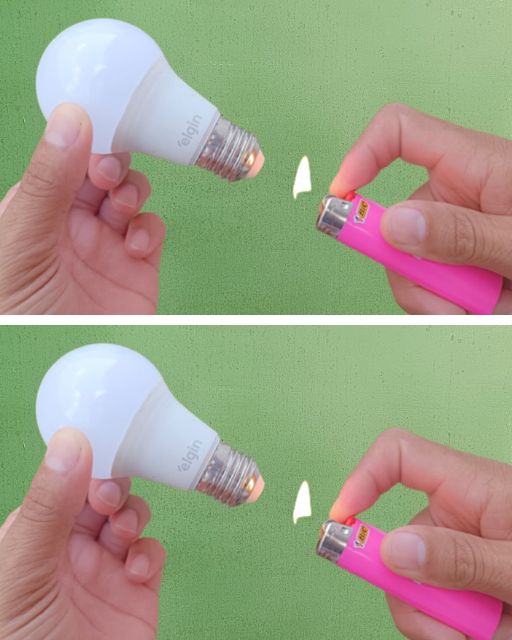
Step 3:
Plug the lamp back into power (taking all necessary precautions to avoid electric shock). Use the steel tweezers to gently touch each LED. If you touch an LED and it lights up or changes behavior, it is probably defective.
Step 4:
To repair the faulty LED, use the flat screwdriver to lightly abrade the surface of the LED. Sometimes this can reset the internal LED connection and make it work again. Do it carefully and patiently.
Step 5:
Once you have repaired the LED, disconnect the lamp from the power. Use the electrical tape to secure any loose connections and to insulate the areas you worked on, ensuring there are no shorts.
Step 6:
Reassemble the lamp. Make sure all components are securely connected and the case is secure.
Step 7:
Connect the lamp to the power and check if it works correctly. If everything is in order, you will have successfully repaired your LED lamp.
Repairing an LED light fixture may seem intimidating at first, but with the right tools and a little patience, it’s a perfectly manageable task.
Not only will you save the money of buying a new lamp, but you will also gain a useful skill that you can apply in future repairs.
If you have gotten lost in the steps, we leave you the video of Innovate or invent that does exactly the same thing, but is much easier to understand
