
4. Thicken the Jam
Continue to simmer the mixture for another 15-20 minutes, stirring frequently. The natural pectin in the kiwis will help the mixture thicken. If you want to sweeten your jam, add honey to taste and stir well to combine.
5. Test the Consistency
A bright kitchen scene with a person using a potato masher to mash cooked kiwis in a saucepan. The kiwis are soft and simmering, with the person adjusting the consistency. The kitchen environment is clean and inviting.
To check if the jam is ready, place a small spoonful on a plate and let it cool for a minute. If it holds its shape and is not too runny, it’s done. If it’s still too liquid, continue simmering for a few more minutes and test again.
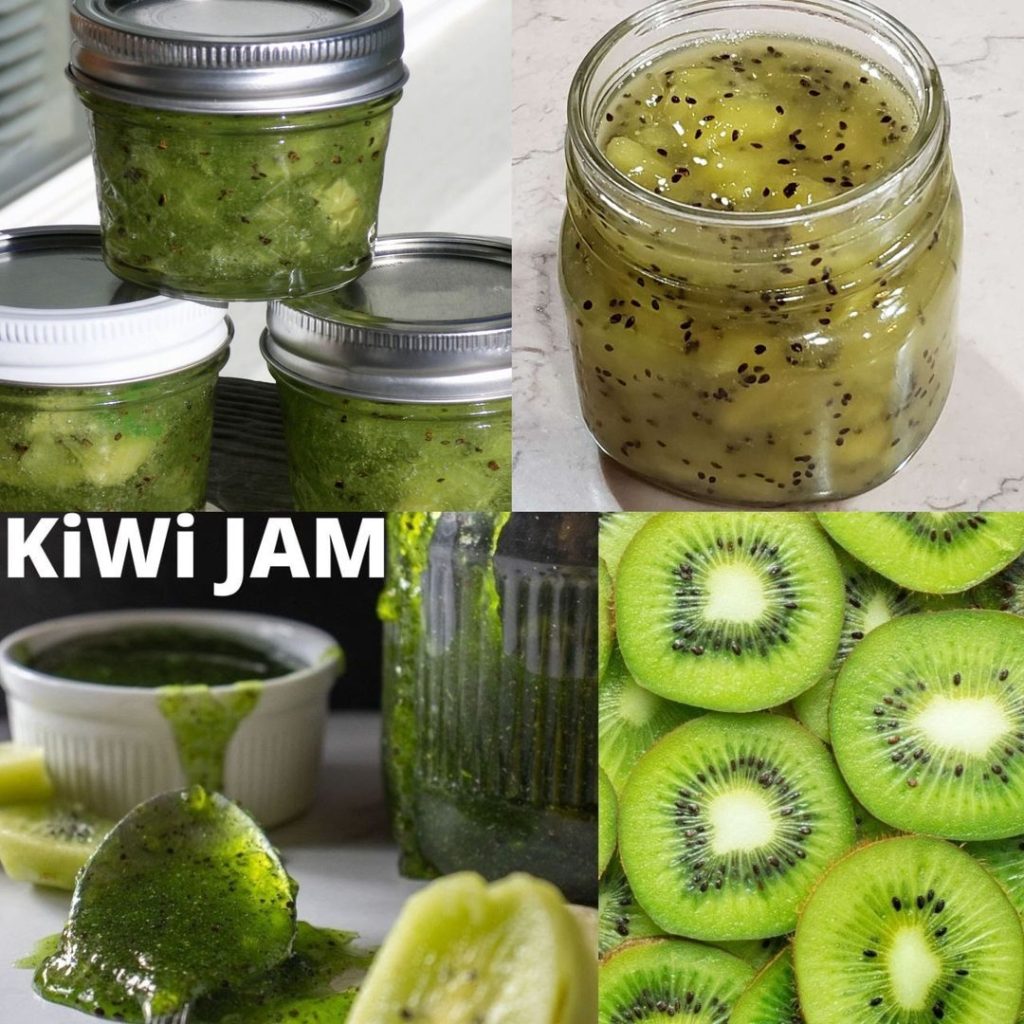
6. Store the Jam
A bright kitchen scene with a small spoonful of kiwi jam on a plate, cooling to test the consistency. The scene shows the person checking if the jam holds its shape. The kitchen environment is clean and inviting.
Once your jam has reached the desired consistency, remove it from the heat and let it cool slightly. Transfer the jam to sterilized jars and seal them tightly. Let the jars cool to room temperature before storing them in the refrigerator.
Enjoying Your Kiwi Jam
A bright kitchen scene with a person transferring the homemade kiwi jam into sterilized jars. The jars are being sealed tightly and left to cool at room temperature. The kitchen environment is warm and inviting.
This homemade kiwi jam is perfect on toast, mixed into yogurt, or as a topping for pancakes. Without added sugar, it’s a healthier alternative to store-bought jams, allowing the natural flavors of the kiwi to shine through.
Making your own kiwi jam is simple and rewarding. Give this recipe a try, and enjoy the fresh, fruity taste of homemade jam anytime you like. Happy cooking!
